Showing posts with label Ichabod. Show all posts

Sunday, March 4, 2012

Plague Doctor Mask Illustrations

Here are a couple of more illustrations I've created in Photoshop using my plague doctor masks.

Above is the Ichabod mask, set in an Elizabethan scene. It is titled "The Displeased Patron" and shows the obsequious artist attempting to convince the nobleman that the painting is worthy. I made all the costumes (for both illustrations) years ago when I was in the Society for Creative Anachronism.


Here the Krankheit mask is shown in a medieval setting. The wealthy nobleman is remembering his days during the crusades in the middle east, and the mysterious woman who sold him his plague doctor mask.

All masks shown are available for sale on my etsy store.

Saturday, June 18, 2011

Ichabod: Completed

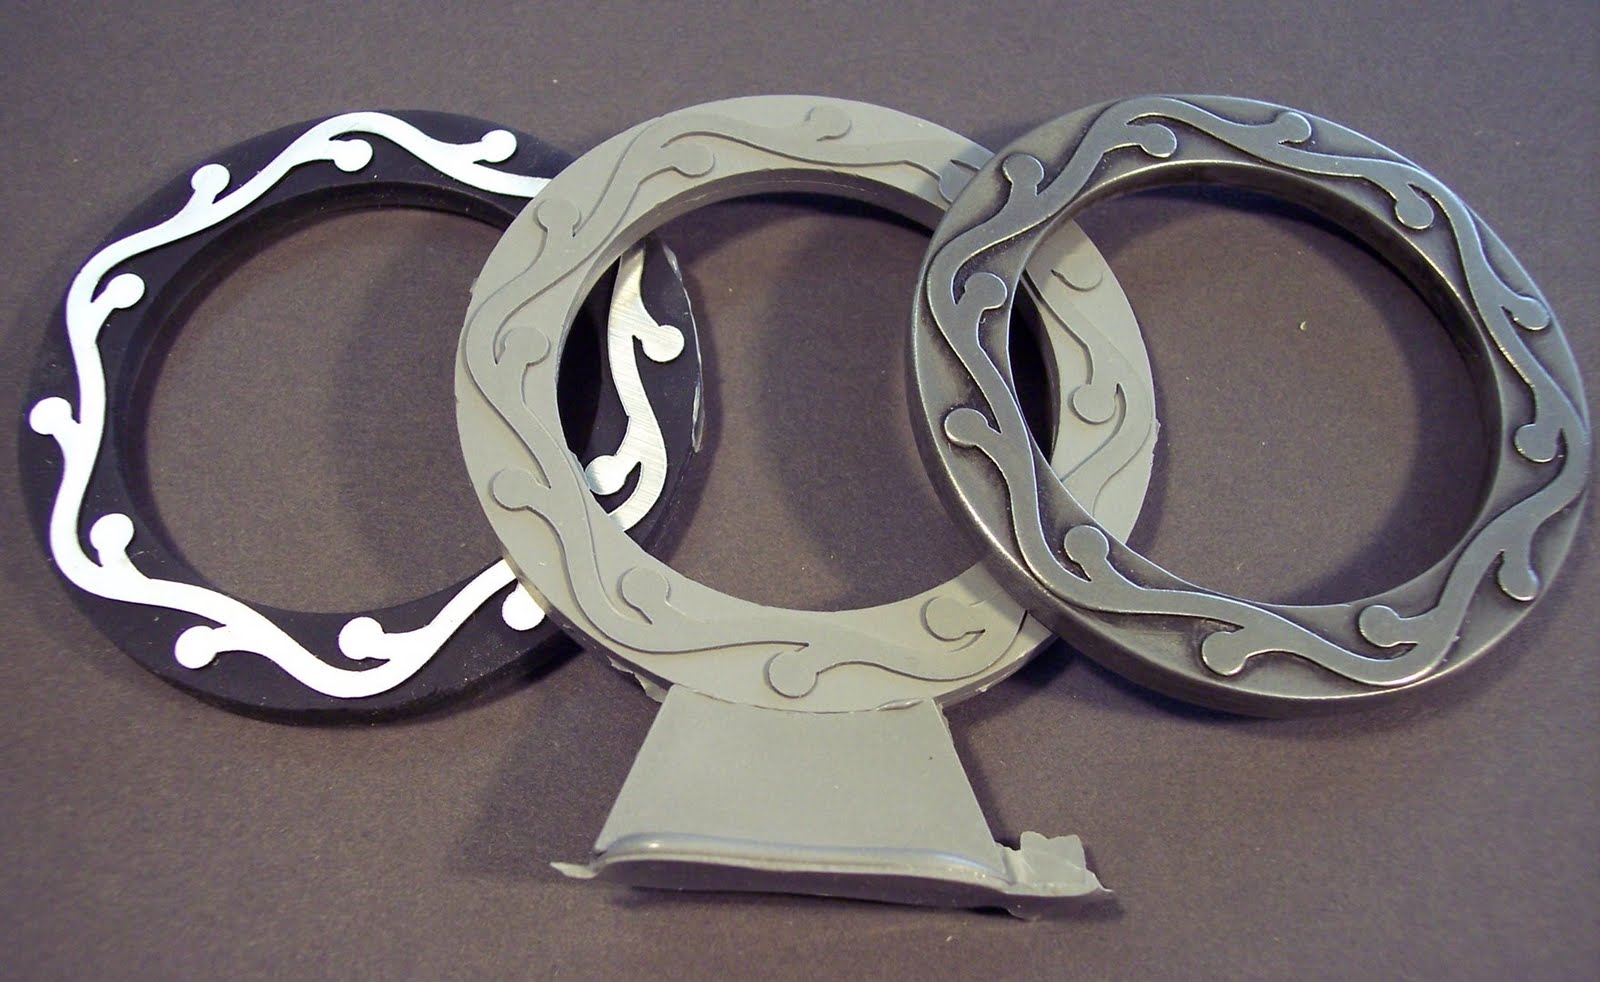
I've remade the straps, and painted them black as shown below. Let me explain why these straps were more of a challenge to design than my other steampunk masks.

After making a traditional looking plague doctor mask last year, I quickly followed it up with a steampunked version, Dr. Beulenpest. The traditional mask is rather squat, and Beulenpest is sleeker, with a longer narrower beak.


Here is the (more or less) historically correct version plague doctor mask.

This is Dr. Beulenpest. Notice the longer, narrower beak.

And here, ladies and gentlemen, is Ichabod. Longer and narrower than even Beulenpest. The only way I could slim the good doctor down further was to move the bottom of the mask from below the wearer's chin to near his mouth. Notice in the photo above the black lambskin throat cover, which hides the wearer's chin, and gives more of an avian illusion.


In order for the wearer to speak and be generally comfortable, the base of the mask must be lifted off of the mouth, and not be touching it. While my other masks rest on any part of the face and head that they touch, the Ichabod straps need to hold the mask cantilevered. And so I came up with a headband and a top strap that can be adjusted to fit securely on the head without relying on pulling back on the mask. I then simply attached the mask to the headband with rivets.


The mask is now complete, and I will list it on eBay this afternoon. I am very pleased with how it turned out, and feel that it is some of my best work. Below are a couple more shots of the finished Ichabod.


Here is the eBay listing with more photos.

Wednesday, June 15, 2011

Ichabod: The Straps

Returning to the Ichabod, I adjusted the pattern so that the beak opening wasn't so large, and now the fit is good. Next up is making the straps.


I've made a simple one inch wide band and temporarily attach it to the mask to see how the beak will sit on the face.


That will basically work, but I need a nicer way to attach it, and I need a strap running over the head (front to back) to keep the beak cantilevered and off of the chin. Here I've added tabs to the leather mask to accomplish both things.


I've decided to make this mask white (a classical plague doctor mask color), and so I paint it with acrylic latex paint. I also finish the eye and beak hardware and attach them to the mask.


And here it is with my first attempt at the straps. I think that they are too busy, and so will simplify them before moving on. The challenge is to have it be adjustable, both circumferentially around the head, and over the top of the head.


Saturday, April 30, 2011

Ichabod: The Pattern

Now I'll make the patterns for the leather pieces (which will support the three cold cast parts).

I begin by marking where the seams will go on the plasticene with a Sharpie™ felt tip pen.


After sealing the clay with a coating of pink urethane resin, I cover it all with strips of masking tape. The resin is necessary as masking tape won't adhere to the clay.


Once I am satisfied with the pattern pieces I use an Xacto™ knife to cut off the individual masking tape patterns.


Now I test my pattern by cutting them in a thin cardboard, stapling and taping the different parts together. All looks fine, so I will proceed to the next step.


And finally I cut the pieces out of leather and stitch them together. The eyepieces fit nicely, however the beak opening is too large. I will have to adjust the pattern and try again.

Thursday, April 21, 2011

Ichabod: The Beak

I have built the beak with the same sort of relief decoration as the eyepieces.

This is the beak in progress with the lasered relief applique in the background.


Here is the final cast beak, showing both the side and bottom view, in cold cast aluminum.


And here is the beak on the plasticene sculpt, giving an approximatation of the final mask.

Wednesday, April 13, 2011

Ichabod: Eyepiece Cap

I've made the eyepiece cap (the ring that keeps the lens in place) with a decorative design similar to the eyepiece itself.


Here—left to right—are the model, the unfinished casting, and the polished cold cast aluminum cap.

And this is the eyepiece with cap in place on top. I am quite pleased with how it is looking.

Saturday, April 9, 2011

Ichabod: The First Sculpt

With the eyepieces done I move on to sculpting the mask in clay.

I place the two eyepieces onto the face form and start adding plasticene, which I've warmed in the microwave oven to soften it.

I build the beak up to where I think it should be. I'm not concerned about getting it smooth at this stage. I just want to get the proper proportions.


I use my clay tool to remove a layer of plasticene at the bottom of the beak, where the leather will lie over the resin.

And I cut off what will become the resin beak, and prepare to make an RTV silicone rubber mold of it.

Once the mold is cured I cast it in urethane resin and proceed to refine it. Sanding down the resin is easier to do then smoothing out the clay, and achieve a nice clean surface.

Thursday, April 7, 2011

Ichabod: The Finished Eyepiece

After staring at the eyepiece prototype for a few hours I have decided that the foam relief is too pronounced, so I've replaced it with a much thinner material.
The new prototype is on the left, the cold cast aluminum part just out of the mold is in the middle, and the polished eyepiece is on the right. The cold cast is a dull gray until it is sanded to reveal the metal powder and polished. Next I will move on to the sculpting of the mask in clay.

Sunday, April 3, 2011

Ichabod: Molding the Eyepiece

Continuing with the Ichabod eyepiece, I seal the outside with Bondo™ auto body putty so that the mold material won't leak in between the individual pieces of acrylic.
I hot glue the model to a small piece of Formica. Here I am hot gluing a paper popcorn cup down around the model to contain the rubber.


This is the model, cup and wooden dowel (to make it easier to demold and to save on rubber) ready for the silicone rubber.

The silicone rubber RTV (room temperature vulcanization) is ladled out with a spatula.

First I weigh out the white rubber base......

.....then I weigh out the dark blue activator, which is 10% of the base weight.

After mixing it completely with the spatula, the silicone mix is placed into a vacuum chamber to boil out any excess air. This picture shows the rubber mix boiling away (at room temperature).

Once it is vacuumed (deaired) the silicone rubber is poured over the model.

The next morning I demold the eyepiece, and cast it in a charcoal colored urethane resin. I sand smooth both the interior and the exterior of the casting.

Now for the decoration. Rather than add screws or bolts as I have with earlier steampunk eyepieces I have decided to add a design in bas relief. First I draw out the design with a black Sharpie™ on white paper, then scan it. Bringing it into CorelDraw™ I vectorize it and clean up the lines, then laser cut it out of green card stock to check the fit onto the eyepiece.

All looks well so I proceed to laser cut a thin piece of foam with mirror images of my design. The pressure sensitive tape on the back allows them to be attached and ready to mold.

Saturday, April 2, 2011

Ichabod: A New Plague Dr Mask

I have decided to create a third version of the plague doctor mask, in addition to the classic historical style, and the steampunked Dr. Beulenpest, shown below.

I have had several requests for an extended beak, and that will be one of the modifications in the new mask. In my initial sketches (shown below) the mask reminds me of a crane, and so I am calling the new piece Ichabod, in a nod to the 19th century author Washington Irving and his Legend of Sleepy Hollow.


Before I can sculpt the new mask in clay I'm going need to build new eyepieces for it. Here I have lasered out several rings in acrylic sheet, which will be aligned and assembled using the brass rod. I slide each piece in the proper order over the three rods and use epoxy cement to hold them together. A stationary belt sander is used to turn the stepped bottom into a smooth angle. And here I've cemented a flange on the bottom to keep the eyepiece in place on the mask. Next step is molding it in silicone rubber.