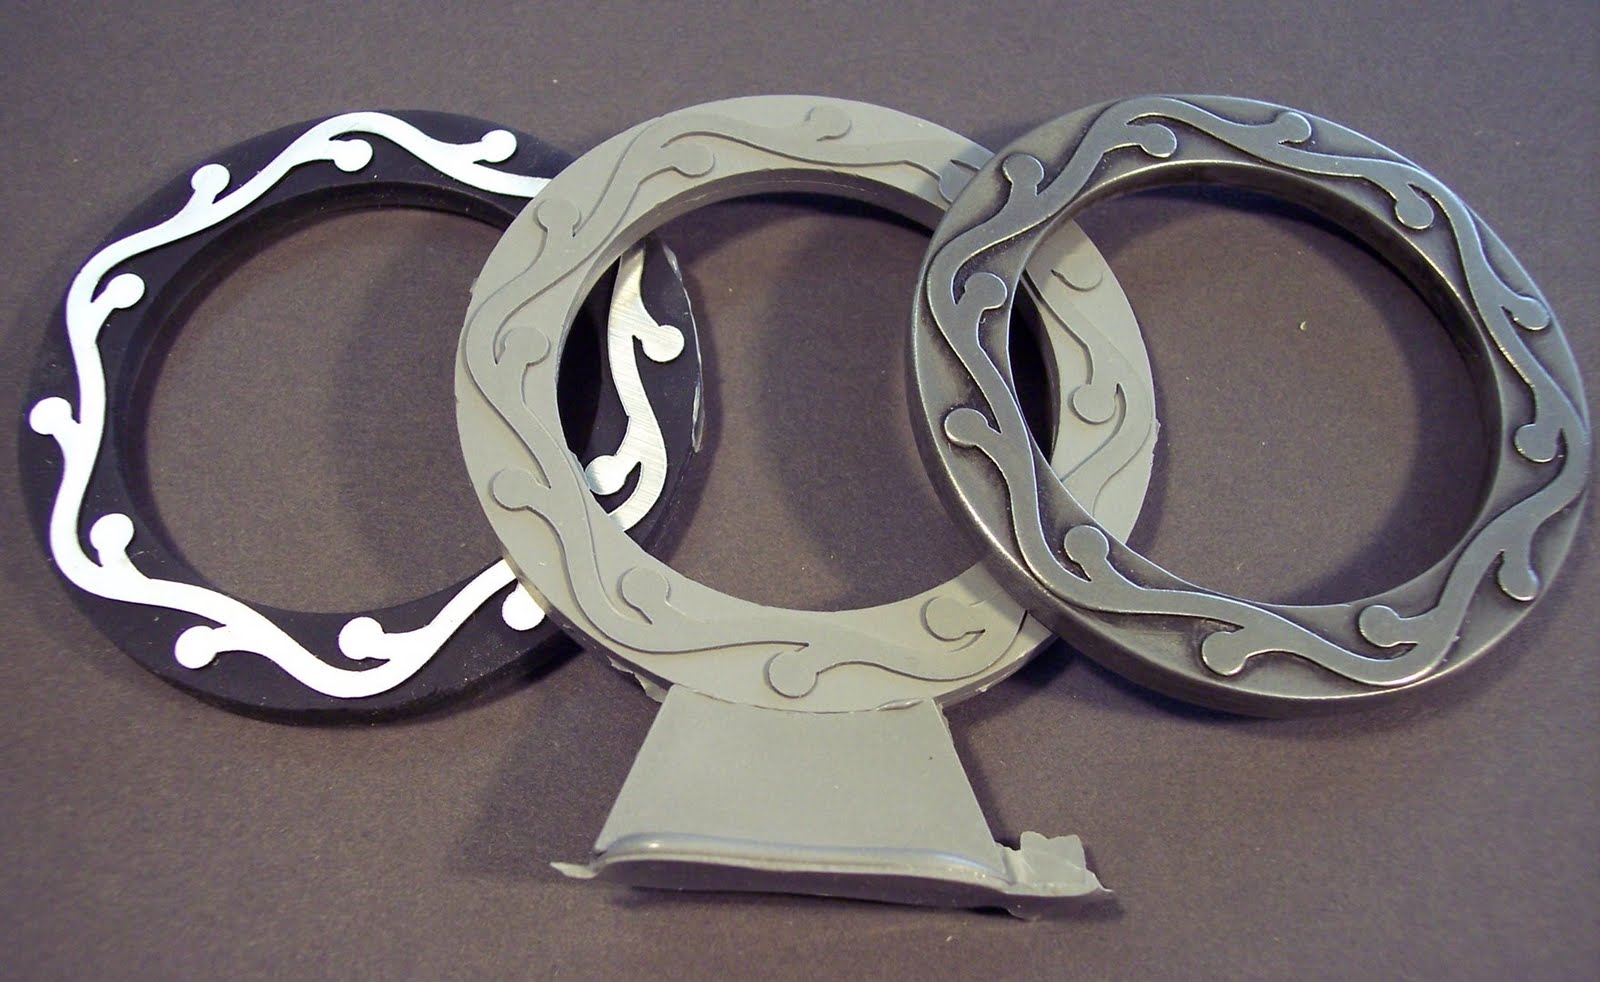
Here—left to right—are the model, the unfinished casting, and the polished cold cast aluminum cap.
 And this is the eyepiece with cap in place on top. I am quite pleased with how it is looking.
 And this is the eyepiece with cap in place on top. I am quite pleased with how it is looking.

 Continuing with the Ichabod eyepiece, I seal the outside with Bondo™ auto body putty so that the mold material won't leak in between the individual pieces of acrylic.
  I hot glue the model to a small piece of Formica. Here I am hot gluing a paper popcorn cup down around the model to contain the rubber.
 This is the model, cup and wooden dowel (to make it easier to demold and to save on rubber) ready for the silicone rubber.
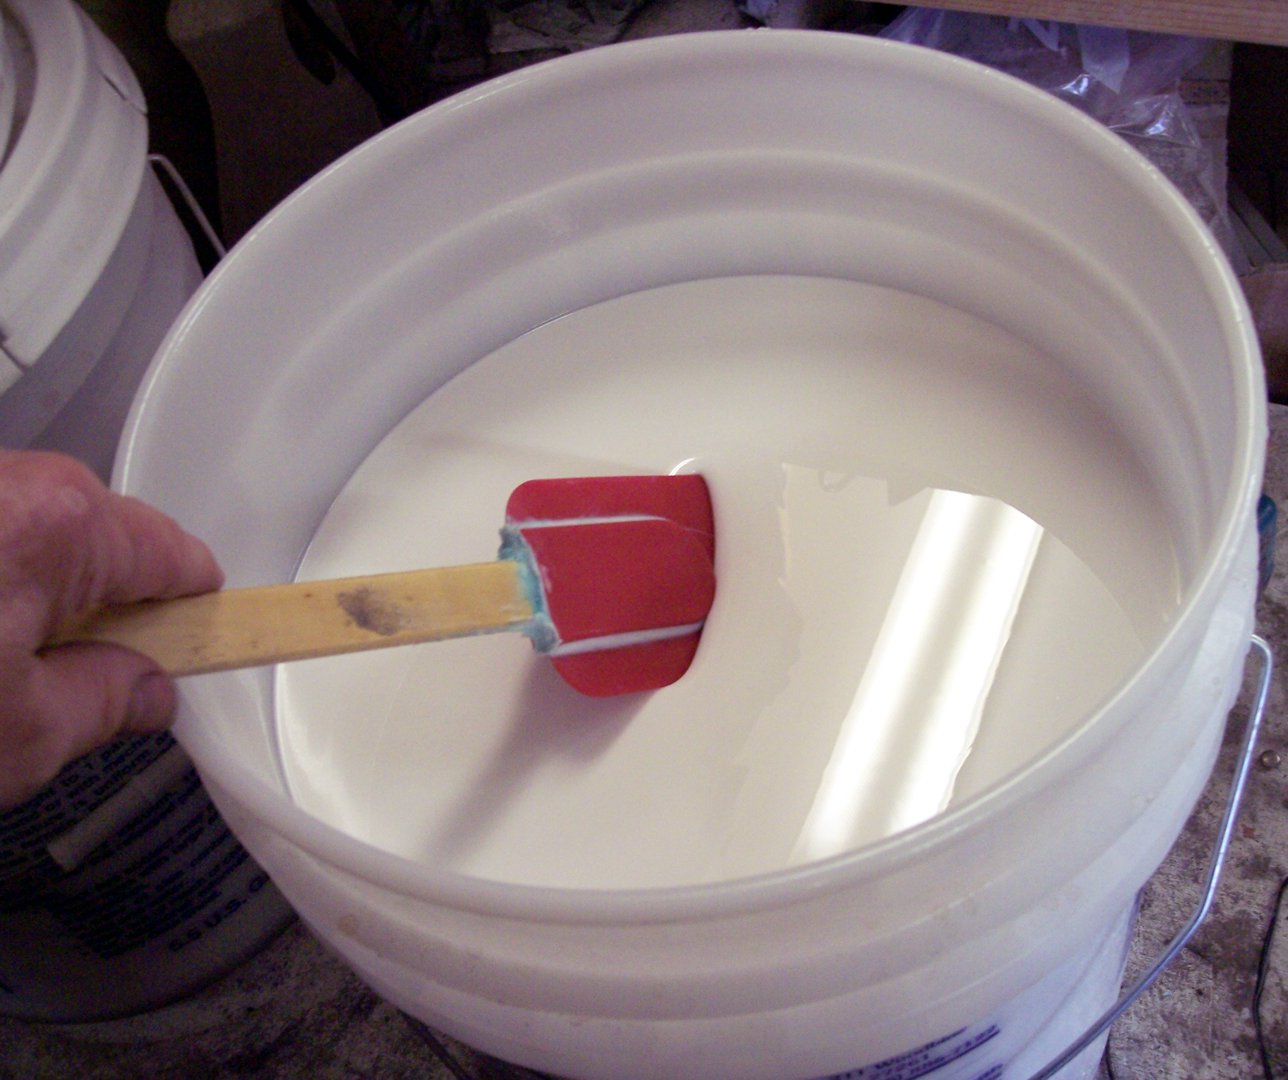 The silicone rubber RTV (room temperature vulcanization) is ladled out with a spatula.
  First I weigh out the white rubber base......
  .....then I weigh out the dark blue activator, which is 10% of the base weight.
  After mixing it completely with the spatula, the silicone mix is placed into a vacuum chamber to boil out any excess air. This picture shows the rubber mix boiling away (at room temperature).
  Once it is vacuumed (deaired) the silicone rubber is poured over the model.
  The next morning I demold the eyepiece, and cast it in a charcoal colored urethane resin. I sand smooth both the interior and the exterior of the casting.
 Now for the decoration. Rather than add screws or bolts as I have with earlier steampunk eyepieces I have decided to add a design in bas relief. First I draw out the design with a black Sharpie™ on white paper, then scan it. Bringing it into CorelDraw™ I vectorize it and clean up the lines, then laser cut it out of green card stock to check the fit onto the eyepiece.
  All looks well so I proceed to laser cut a thin piece of foam with mirror images of my design. The pressure sensitive tape on the back allows them to be attached and ready to mold.
 I have had several requests for an extended beak, and that will be one of the modifications in the new mask. In my initial sketches (shown below) the mask reminds me of a crane, and so I am calling the new piece Ichabod, in a nod to the 19th century author Washington Irving and his Legend of Sleepy Hollow.
Before I can sculpt the new mask in clay I'm going need to build new eyepieces for it.  Here I have lasered out several rings in acrylic sheet, which will be aligned and assembled using the brass rod.
  I slide each piece in the proper order over the three rods and use epoxy cement to hold them together.
  A stationary belt sander is used to turn the stepped bottom into a smooth angle.
  And here I've cemented a flange on the bottom to keep the eyepiece in place on the mask. Next step is molding it in silicone rubber.


