Saturday, April 30, 2011

Ichabod: The Pattern

Now I'll make the patterns for the leather pieces (which will support the three cold cast parts).

I begin by marking where the seams will go on the plasticene with a Sharpie™ felt tip pen.


After sealing the clay with a coating of pink urethane resin, I cover it all with strips of masking tape. The resin is necessary as masking tape won't adhere to the clay.


Once I am satisfied with the pattern pieces I use an Xacto™ knife to cut off the individual masking tape patterns.


Now I test my pattern by cutting them in a thin cardboard, stapling and taping the different parts together. All looks fine, so I will proceed to the next step.


And finally I cut the pieces out of leather and stitch them together. The eyepieces fit nicely, however the beak opening is too large. I will have to adjust the pattern and try again.

Thursday, April 21, 2011

Ichabod: The Beak

I have built the beak with the same sort of relief decoration as the eyepieces.

This is the beak in progress with the lasered relief applique in the background.


Here is the final cast beak, showing both the side and bottom view, in cold cast aluminum.


And here is the beak on the plasticene sculpt, giving an approximatation of the final mask.

Wednesday, April 13, 2011

Ichabod: Eyepiece Cap

I've made the eyepiece cap (the ring that keeps the lens in place) with a decorative design similar to the eyepiece itself.


Here—left to right—are the model, the unfinished casting, and the polished cold cast aluminum cap.

And this is the eyepiece with cap in place on top. I am quite pleased with how it is looking.

Saturday, April 9, 2011

Ichabod: The First Sculpt

With the eyepieces done I move on to sculpting the mask in clay.

I place the two eyepieces onto the face form and start adding plasticene, which I've warmed in the microwave oven to soften it.

I build the beak up to where I think it should be. I'm not concerned about getting it smooth at this stage. I just want to get the proper proportions.


I use my clay tool to remove a layer of plasticene at the bottom of the beak, where the leather will lie over the resin.

And I cut off what will become the resin beak, and prepare to make an RTV silicone rubber mold of it.

Once the mold is cured I cast it in urethane resin and proceed to refine it. Sanding down the resin is easier to do then smoothing out the clay, and achieve a nice clean surface.

Thursday, April 7, 2011

Ichabod: The Finished Eyepiece

After staring at the eyepiece prototype for a few hours I have decided that the foam relief is too pronounced, so I've replaced it with a much thinner material.
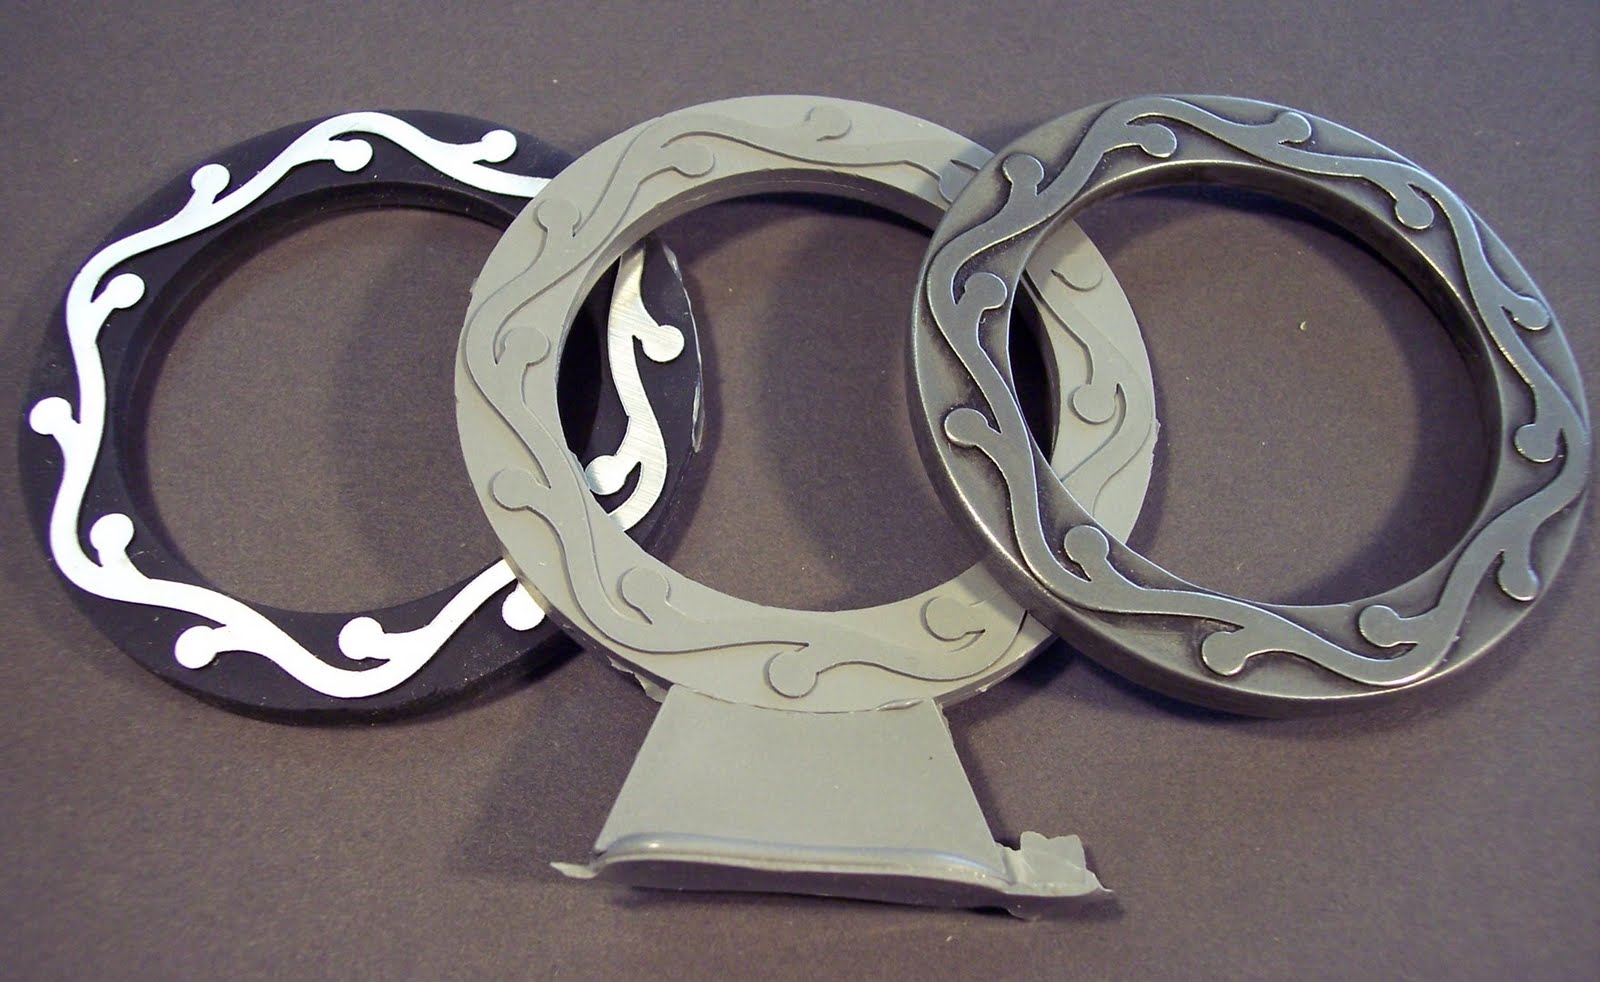
The new prototype is on the left, the cold cast aluminum part just out of the mold is in the middle, and the polished eyepiece is on the right. The cold cast is a dull gray until it is sanded to reveal the metal powder and polished. Next I will move on to the sculpting of the mask in clay.

Sunday, April 3, 2011

Ichabod: Molding the Eyepiece

Continuing with the Ichabod eyepiece, I seal the outside with Bondo™ auto body putty so that the mold material won't leak in between the individual pieces of acrylic.
I hot glue the model to a small piece of Formica. Here I am hot gluing a paper popcorn cup down around the model to contain the rubber.


This is the model, cup and wooden dowel (to make it easier to demold and to save on rubber) ready for the silicone rubber.

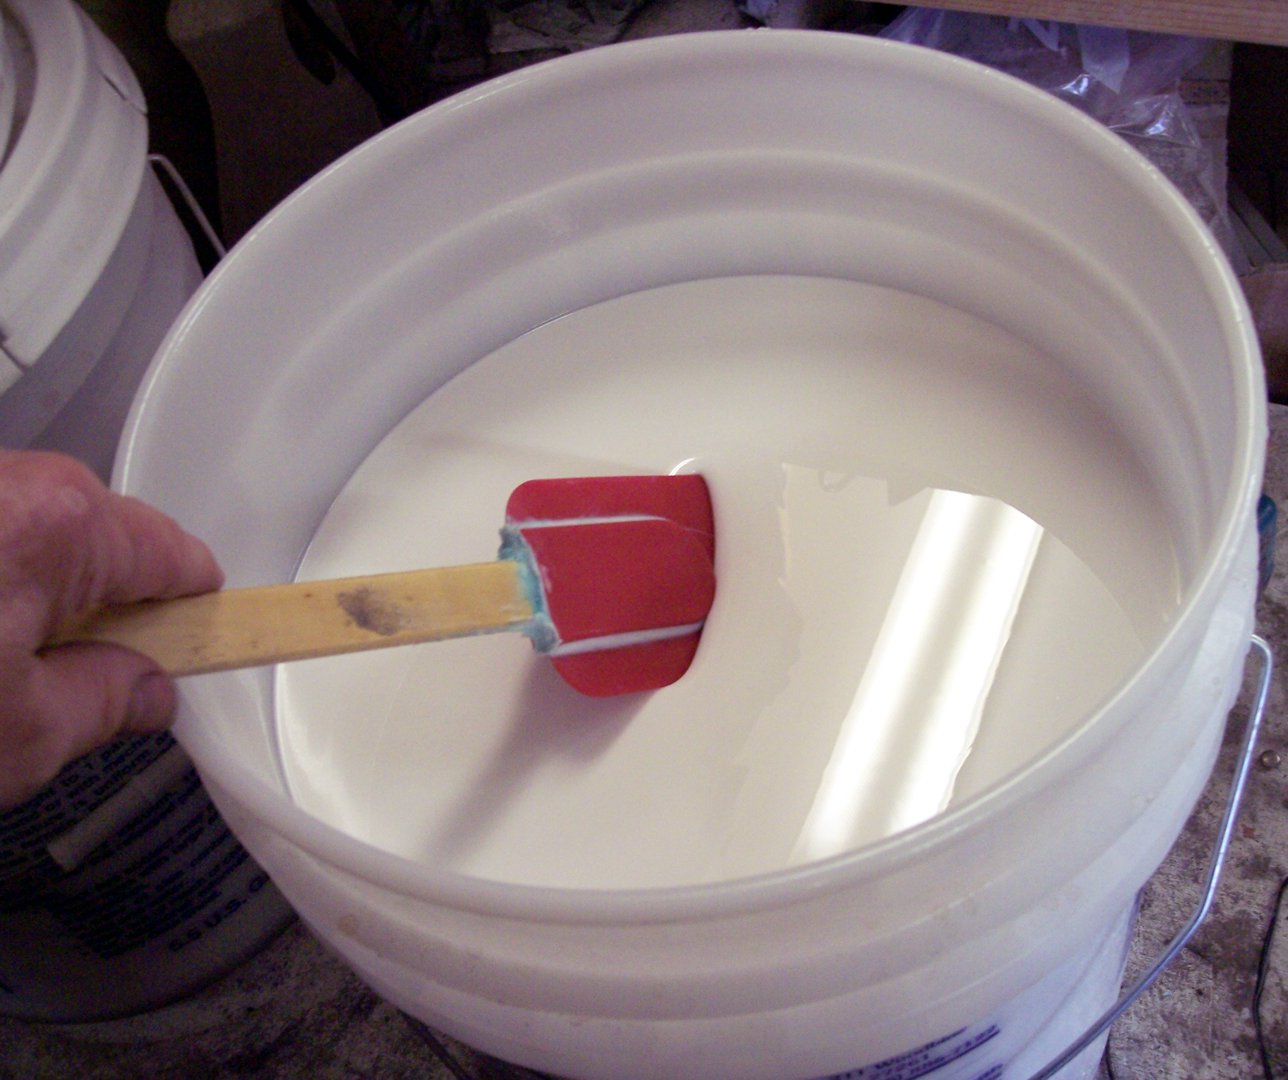
The silicone rubber RTV (room temperature vulcanization) is ladled out with a spatula.

First I weigh out the white rubber base......

.....then I weigh out the dark blue activator, which is 10% of the base weight.

After mixing it completely with the spatula, the silicone mix is placed into a vacuum chamber to boil out any excess air. This picture shows the rubber mix boiling away (at room temperature).

Once it is vacuumed (deaired) the silicone rubber is poured over the model.

The next morning I demold the eyepiece, and cast it in a charcoal colored urethane resin. I sand smooth both the interior and the exterior of the casting.

Now for the decoration. Rather than add screws or bolts as I have with earlier steampunk eyepieces I have decided to add a design in bas relief. First I draw out the design with a black Sharpie™ on white paper, then scan it. Bringing it into CorelDraw™ I vectorize it and clean up the lines, then laser cut it out of green card stock to check the fit onto the eyepiece.

All looks well so I proceed to laser cut a thin piece of foam with mirror images of my design. The pressure sensitive tape on the back allows them to be attached and ready to mold.

Saturday, April 2, 2011

Ichabod: A New Plague Dr Mask

I have decided to create a third version of the plague doctor mask, in addition to the classic historical style, and the steampunked Dr. Beulenpest, shown below.

I have had several requests for an extended beak, and that will be one of the modifications in the new mask. In my initial sketches (shown below) the mask reminds me of a crane, and so I am calling the new piece Ichabod, in a nod to the 19th century author Washington Irving and his Legend of Sleepy Hollow.


Before I can sculpt the new mask in clay I'm going need to build new eyepieces for it. Here I have lasered out several rings in acrylic sheet, which will be aligned and assembled using the brass rod. I slide each piece in the proper order over the three rods and use epoxy cement to hold them together. A stationary belt sander is used to turn the stepped bottom into a smooth angle. And here I've cemented a flange on the bottom to keep the eyepiece in place on the mask. Next step is molding it in silicone rubber.

Monday, March 28, 2011

Nova Albion Costume Contest

Photo by David Bedno


I am pleased to announce that the Banwell contingency at the Nova Albion Steampunk Exhibition won the Conquering Hordes category of the costume contest at the Ball of the Brass Dragon.

Photo by Arandale

My wife Jill went as Dr. Beulenpest, son Erin as the Sentinel, daughter-in-law Kristina wore the Rhino gas mask, and I donned the Olifant.


Wednesday, March 9, 2011

Friday, March 4, 2011

Tauruscat: Electronics

We are hard at work on the electronics of the helmet. Here is a peak into the guts of it.


Sunday, February 27, 2011

Sgt. Stubbs, Lab Assistant

My latest steampunk project, Professor Tauruscat's Dream Helmet, will be on display at the Museum of Curiosities, part of the 2011 Nova Albion Steampunk Exhibition.

Demonstrating how the helmet works will be the professor's able lab assistant, Sgt. Stubbs (pictured above), on whom the professor has relied for many years.

Friday, February 25, 2011

Respirator Workshop at Nova Albion

In less than a month Nova Albion, this year's northern California steampunk convention will be taking place in Santa Clara, March 25 - 27.

I will be teaching a hands-on workshop in which participants will begin construction of a leather respirator, very much like the Excursionist pictured. The only difference is that most of the rivets will be replaced with hand stitching so that everyone can be working on it at the same time.

Cost of the workshop is $20 to cover materials, and everything is included except for stain (for the leather and canisters) and contact cement. The Excursionist sells at my Etsy shop for $125. Such a deal! The schedule for workshops has not yet been announced.


Sunday, February 6, 2011

Tauruscat: Front Plate Finished

Here is the front plate stained and antiqued and in place on the front of the helmet. The colors look better now, don't they? And the URF does not stand out as an anachronism.


Saturday, February 5, 2011

Tauruscat: Front Plate

My son Erin is designing the electronic components of Professor Tauruscat's helmet, and has included an ultrasonic range finder as a switch for the lights. I am mounting this on the front of the helmet. It works by sending out an ultrasonic beam that measures how far away the object in front of it is. Depending on the distance it signals the Arduino to perform a certain sequence of lighting the LEDs.

The URF is shown above at the bottom center, and will be press fit into the acrylic mount on the right, than inserted into the leather plate that is shown being stitched together.


I constructed the mount to incorporate the URF into a Victorian looking plate so that it would not look out of place. The leather and mount still need to be antiqued.

The URF switch will allow me to wave my hand in front of the helmet and activate the blinking lights.

Wednesday, January 19, 2011

The Cape Revisited

Last March I posted about my top hat being purchased for the NBC show The Cape. Well, last Sunday in episode three Kozmo it appeared in the hands and on the head of magician character Max Malini.

The only problem being poor Max is wearing it backwards! The seam shouldn't be in the front. Later in the episode the Russian villain Gregor Molotov poses as Max by wearing his coat and hat. He also has the hat on backwards! Watch the full episode here.

Useless triva: Keith David, who plays the character of Max and is pictured above, also played the father in There's Something About Mary. His wife's character was played by Markie Post with whom I went to high school.